A gallery wall is a stylish and personal way to transform your space by showcasing wall photography prints in a cohesive, eye-catching arrangement. Whether you’re an art collector or looking to add a personal touch to your home, creating a gallery wall is a fantastic way to express your style and personality. In this guide, we’ll walk you through the steps of curating a beautiful gallery wall using different themes, styles, and sizes of photography prints to enhance any space.
Why Create a Gallery Wall?
A gallery wall allows you to tell a story and make a bold statement in your home or office. It’s versatile and customizable and offers an opportunity to display a collection of art that resonates with you. Photography prints, in particular, bring a unique visual appeal by capturing moments, landscapes, or abstract elements that can evoke emotions or complement the mood of a room.
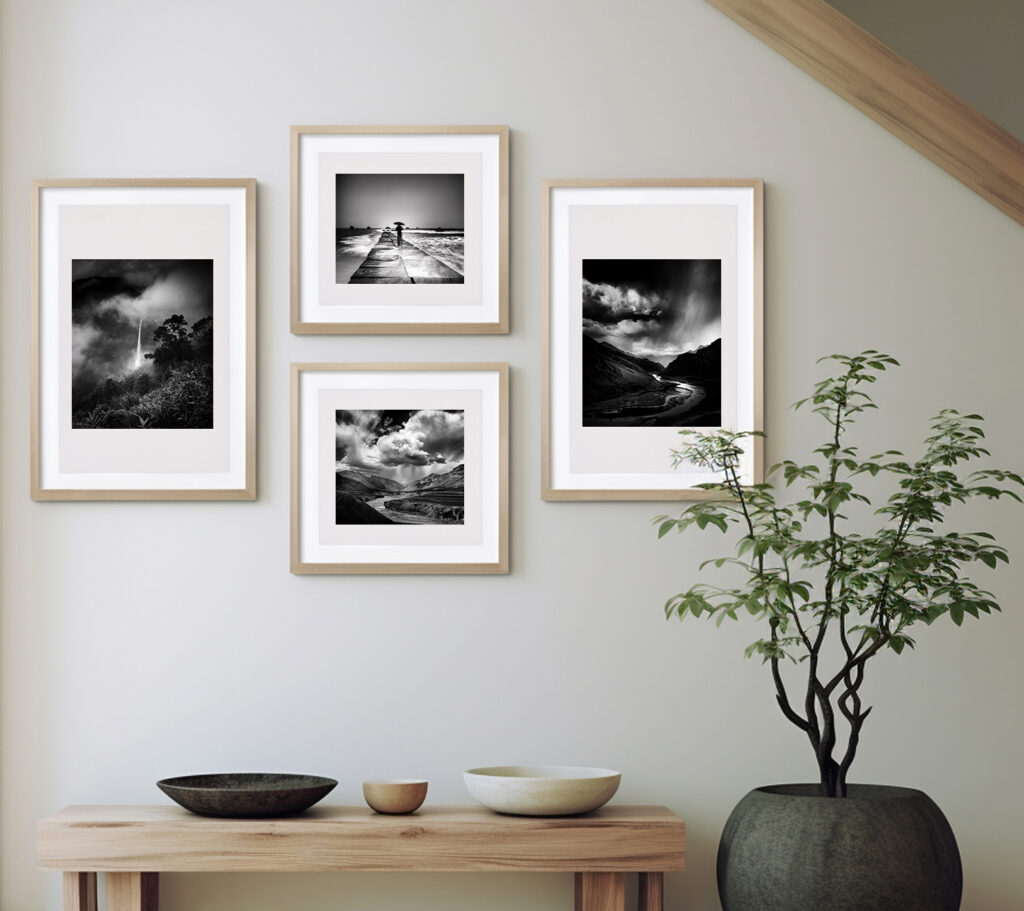
Moreover, using wall photography prints to create a gallery wall has become a trend in interior design. It allows you to display high-end artwork and personal snapshots, all while showcasing your style in a contemporary yet approachable way.
Step 1: Planning Your Gallery Wall
Before hammering nails into the wall, planning your gallery wall design is important. Start by selecting the wall you want to transform. A blank space above a couch, bed, or along a hallway is ideal, but gallery walls can be created almost anywhere.
Consider the Room’s Aesthetic
The first thing to consider is how the gallery wall will fit into the room’s overall aesthetic. Is your space modern, minimalist, rustic, or eclectic? Your selection of photography prints should complement this existing aesthetic. For example, black and white photography works well in minimalist spaces, while vibrant landscape prints could be perfect for a cozy, nature-inspired living room.
Choose a Focal Point
Select one or two larger pieces to serve as the focal point for your gallery wall. These will anchor the arrangement and catch the viewer’s attention. You can add smaller prints to build around the focal pieces from there.
Measure and Plan the Layout
Measuring the wall and planning the layout before hanging anything is crucial. Use painter’s tape to outline the dimensions of the wall on the floor, or cut out paper templates of your framed prints to arrange them on the wall temporarily. This helps visualize the arrangement and ensures that everything fits proportionally.
Step 2: Selecting the Right Photography Prints
The magic of a gallery wall lies in the variety and harmony of the wall photography prints you choose. The right combination of photography prints can transform a blank space into a dynamic visual story.
Explore Different Themes
Choosing a theme for your gallery wall will create a sense of cohesiveness, even when mixing different styles of photography prints. Popular themes include:
- Nature & Landscape Photography: Perfect for creating a serene and calming environment, nature photography often feature forests, oceans, mountains, and sunsets.

- Abstract Photography: Ideal for modern or contemporary spaces, abstract photography adds a layer of intrigue and mystery.
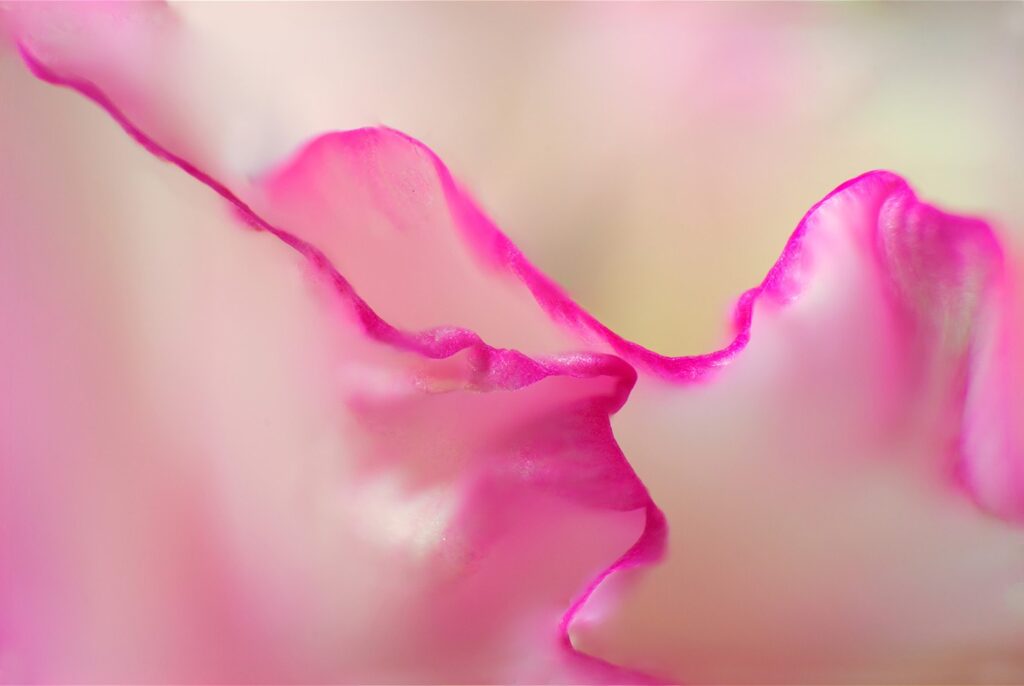
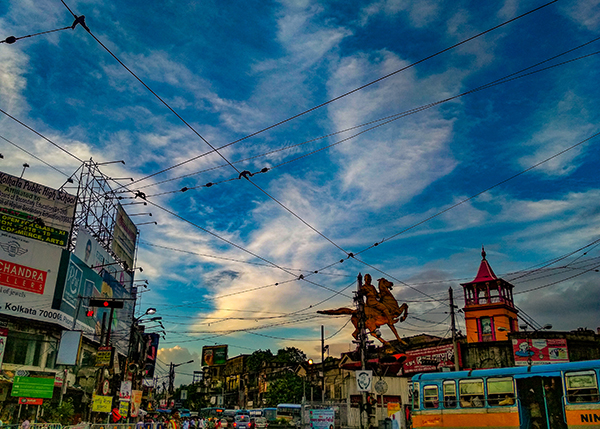
- Cityscape Photography: Bring the energy and vibrancy of urban life into your home with cityscape prints. These are excellent for offices or industrial-themed homes.
- Portrait Photography: Adding human elements through portraits can evoke emotion and create a connection. Black and white portrait photography is especially timeless.

- Travel Photography: Incorporate travel-themed prints to showcase your favorite destinations and cultures or evoke a sense of wanderlust in your gallery wall.

Mix Styles and Sizes
Incorporating different styles of photography prints can make your gallery wall feel more dynamic. Don’t be afraid to mix portrait photography with abstract art or juxtapose bright landscapes with subdued, moody prints.
Size variation is another important element. Combining large, medium, and small frames will give your gallery wall depth and dimension. Start with your largest pieces, placing them toward the center or slightly off-center, and work outward with smaller prints.
Incorporate Color Palettes
Using a cohesive color palette across your prints will help unify the overall look of the gallery wall. For example, if you’re working with neutral tones in your home, choose photography prints with subtle color accents like soft blues, greys, and beiges. On the other hand, if you want the wall to be a bold statement piece, opt for vibrant, high-contrast photography that complements your room’s color scheme.
Step 3: Framing Your Photography Prints
The right frame can elevate the look of your wall photography prints, turning them from simple prints into polished works of art. When selecting frames, consider the following:
- Consistency: While it’s common to mix and match frame styles, maintaining consistency will help maintain cohesion. For instance, you can use frames of different sizes but keep them all in the same color family.
- Material: Wooden frames bring warmth and are great for rustic or bohemian styles, while sleek black or metallic frames work well for modern and minimalist spaces.
- Matting: Adding matting inside the frame creates a border around the photography print, making it stand out even more. Matting is particularly useful for small prints.
Step 4: Arranging Your Gallery Wall
Now comes the exciting part—arranging and hanging your gallery wall. Here are a few layout ideas to inspire you:
Grid Layout
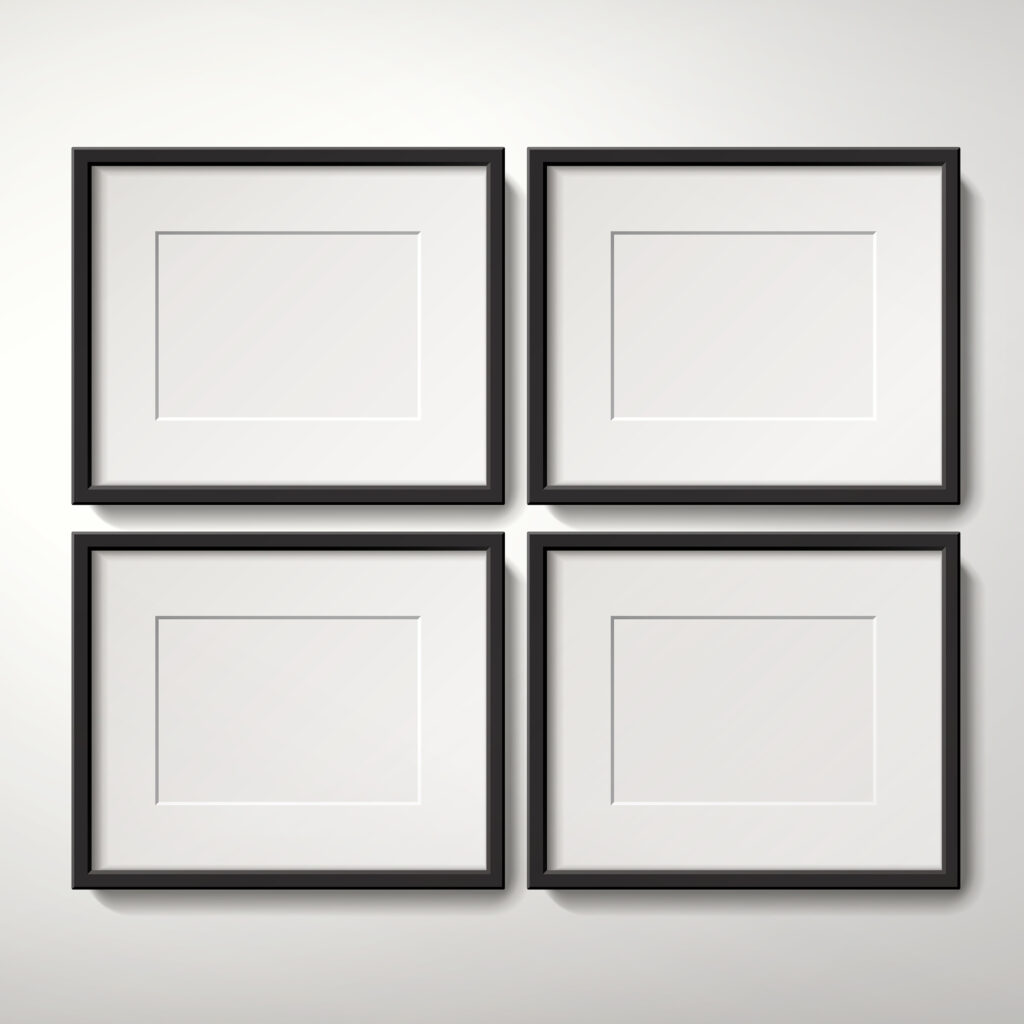
The grid layout is perfect for those who prefer structure and symmetry. It involves arranging photography prints in a clean, geometric pattern, often with equal spacing between frames. This layout works especially well if all your prints are the same size.
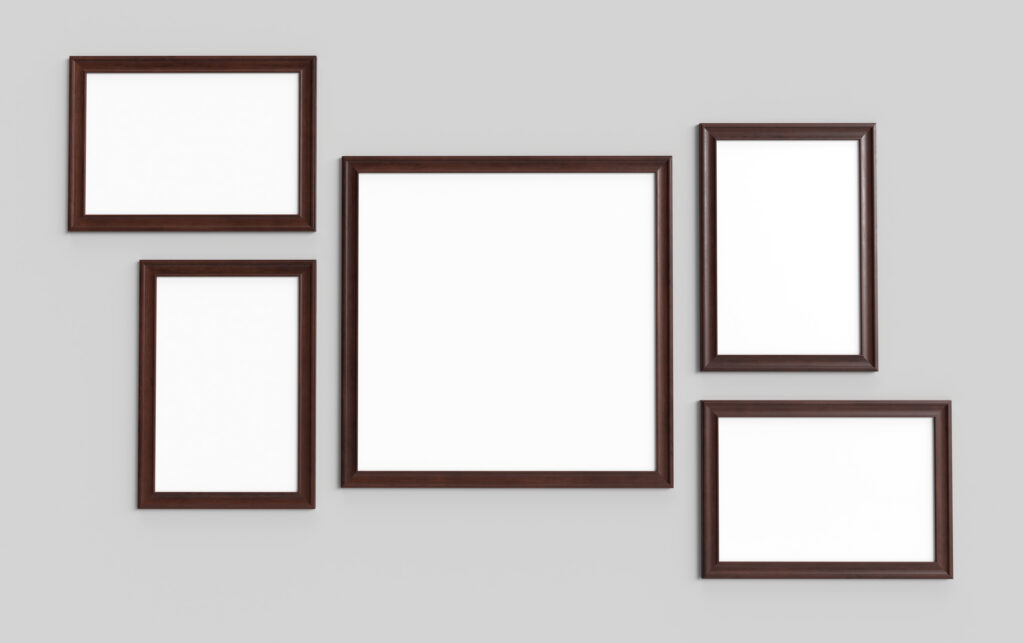
Asymmetrical Layout
For a more relaxed and creative look, go for an asymmetrical arrangement. Start with the largest print in the center and build outward, staggering smaller pieces around it. This layout is great if you want a more eclectic, free-flowing design.
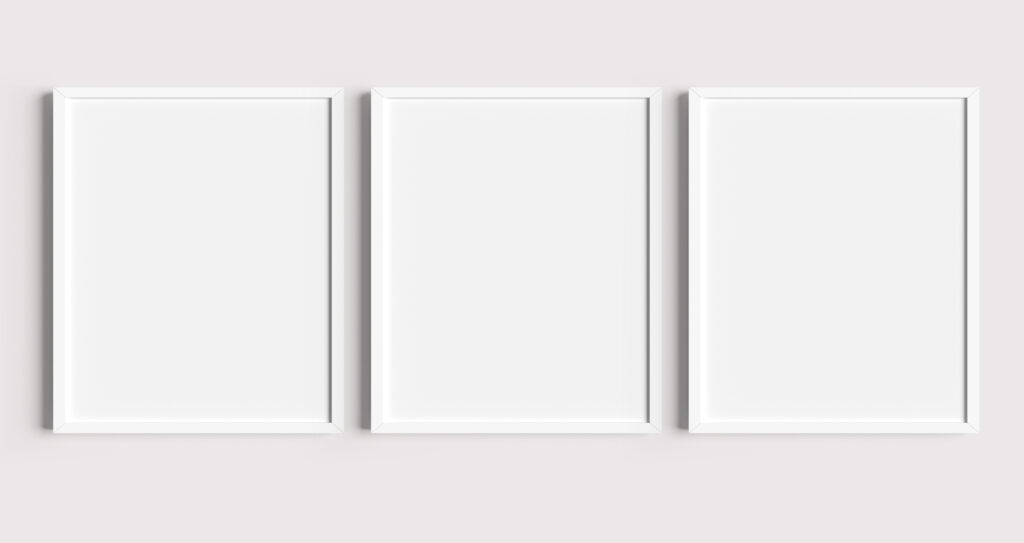
Linear Layout
A linear arrangement is ideal for narrow spaces like hallways. Align your prints in a straight horizontal line for a minimalist and sleek look.
Step 5: Hanging and Maintaining Your Gallery Wall
Once you’ve decided on your arrangement, it’s time to start hanging the prints. Use measuring tape, a level, and a pencil to mark where each nail or hook will go. If you’re working with heavier frames, consider using wall anchors for extra support.
After your gallery wall is up, it’s important to maintain it. Dust your prints and frames regularly to keep them looking fresh. Also, avoid direct sunlight on your prints to prevent fading.
Step 6: Personalize Your Gallery Wall
While following trends is tempting, the best gallery walls reflect your personality and style. Don’t be afraid to add personal touches like family photos or pieces that hold sentimental value. Mixing professional photography prints with personal images can make your gallery wall feel more authentic and meaningful.
Photography Print Trends to Consider
As you build your collection of wall photography prints, keep an eye on emerging trends in print art photography. For instance, bold, colorful prints are gaining popularity as homeowners seek ways to inject personality into neutral spaces. Additionally, black and white photography prints remain a timeless option that complements nearly any interior style.
Conclusion
Creating the perfect gallery wall with photography prints is an art in itself, combining creativity with planning and execution. By following these steps—choosing the right wall, selecting cohesive themes and sizes, framing your prints, and arranging them thoughtfully—you can curate a stunning gallery wall that enhances any space.
At Mojarto, we offer a wide range of wall photography prints that cater to diverse tastes and styles. Whether you want to build a minimalist gallery wall or something more eclectic, our collection can help you bring your vision to life.